
How To Screenshot On Windows
To take a screenshot on Windows, follow these steps:
- Locate the content you want to capture on your screen.
- Press the Print Screen (sometimes labeled as PrtScn or PrtSc) key on your keyboard. This captures the entire screen and copies it to the clipboard.
- Open an image editing program such as Paint or Microsoft Word.
- Press Ctrl + V or right-click and select Paste to paste the screenshot from the clipboard into the program.
- Edit or save the screenshot as needed.
Alternatively, you can use the Snipping Tool or the Snip & Sketch tool if you are using Windows 10. Here’s how:
- Press the Start button and type “Snipping Tool” or “Snip & Sketch” in the search bar.
- Select the appropriate tool from the search results.
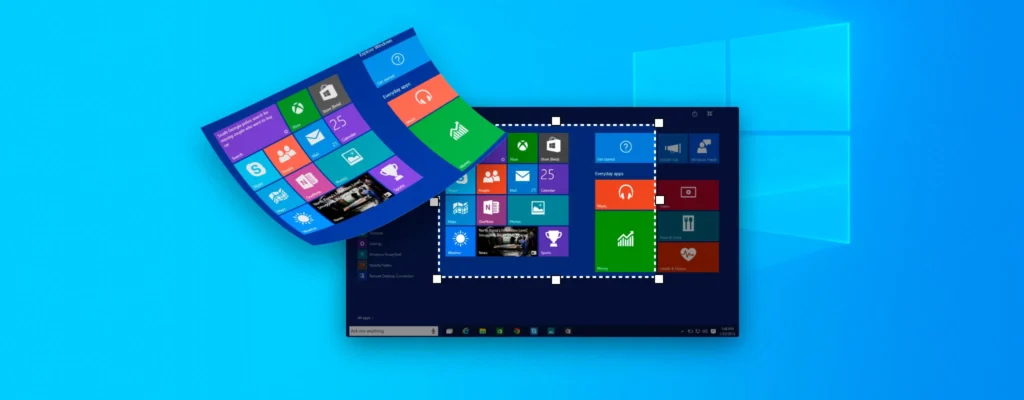
- Click on “New” (in the Snipping Tool) or “New Snip” (in Snip & Sketch) to begin taking the screenshot.
- Use the crosshair cursor to drag and select the portion of the screen you want to capture.
- Once the snip is captured, it will open in the respective tool where you can save, edit, or share it.
Remember that the specific key or method to take a screenshot may vary slightly depending on your Windows version and keyboard layout.