
How to Remove a Radiator (8 Easy Step-by-Step Guides)
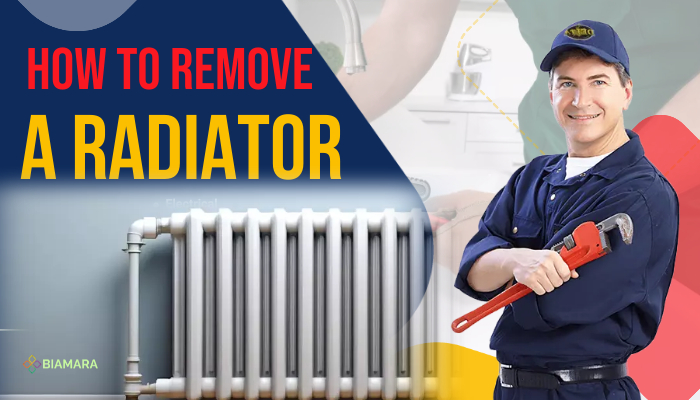
How to Remove a Radiator
Are you looking to redecorate, renovate, or perform maintenance that requires removing a radiator? Learning how to remove a radiator is a valuable skill for any DIY enthusiast. In this comprehensive guide, we’ll take you through a step-by-step process to ensure a smooth and hassle-free removal.
Step 1: Turn Off the Heating System: Before starting the removal process, it’s crucial to turn off your heating system and allow the radiator to cool completely. This minimizes the risk of burns and makes the entire process safer.
Step 2: Gather Necessary Tools: To remove a radiator, you’ll need a set of basic tools. Ensure you have an adjustable wrench, a radiator key, a bucket or towels for potential water spillage, and a pipe cutter if you plan to disconnect the pipes.
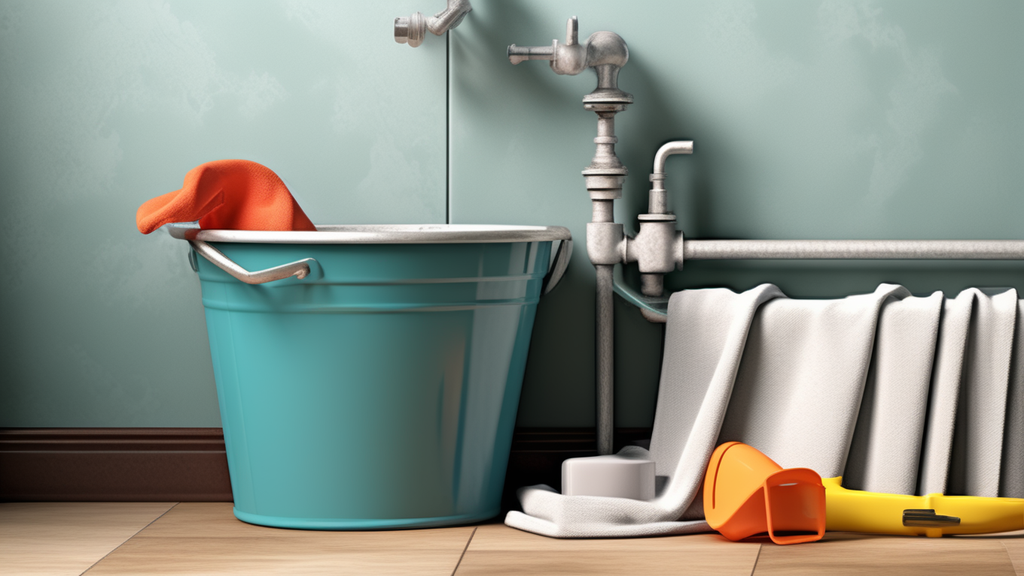
Step 3: Drain the Radiator: Place a bucket or towels beneath the radiator’s valve to catch any water. Use a radiator key to open the bleed valve, allowing air to enter and aiding in the draining process. Use an adjustable wrench to carefully open the lockshield valve on the other side. Drain the water into the bucket or towels.
Step 4: Disconnect the Valves: Using an adjustable wrench, loosen and disconnect both the lockshield valve and the thermostatic valve from the radiator. Ensure you have a container ready to catch any residual water that may escape during this step.
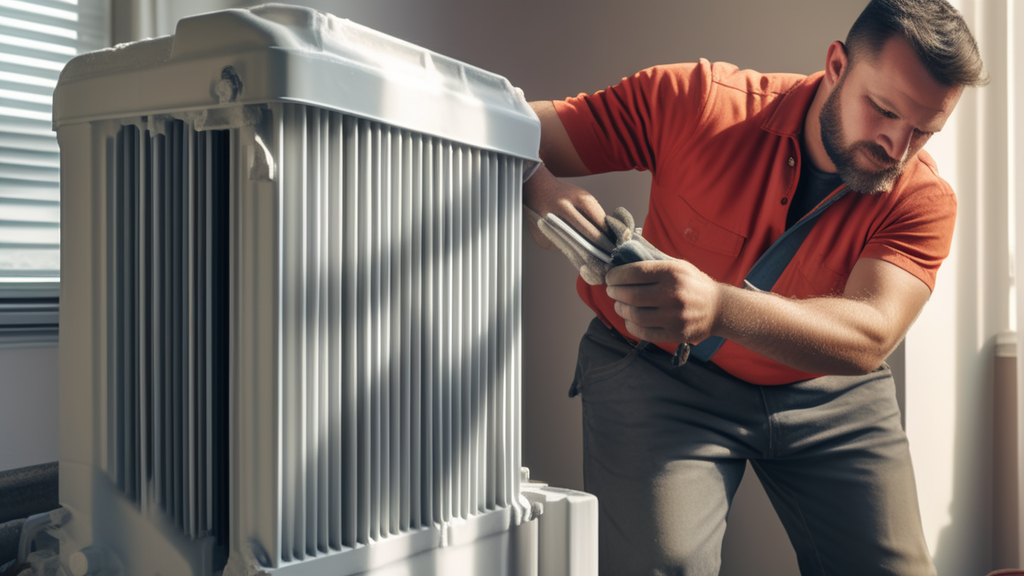
Step 5: Remove the Radiator from Brackets: Most radiators are mounted on brackets attached to the wall. Unscrew the brackets, making sure to support the radiator as you do so. Have an extra pair of hands if needed, as radiators can be heavy and cumbersome.
Step 6: Seal the Pipes: Once the radiator is off the brackets, it’s essential to seal the open pipe ends to prevent water leakage and air entering your heating system. Use pipe caps or, if unavailable, tightly wrap plastic bags and secure them with rubber bands.
Step 7: Cap or Plug the Valves: To prevent any residual water from escaping and to keep dirt out, cap or plug the valves. This step is crucial, especially if you plan to reinstall the same radiator or if you’re replacing it with a new one.
Step 8: Prepare for Reinstallation or Replacement: If you intend to reinstall the same radiator, ensure it’s clean and free of debris. If replacing it, take this opportunity to clean the surrounding area and check for any signs of corrosion or damage that may need attention.
Note: A DIY Task Made Simple
Removing a radiator may seem daunting at first, but by following these step-by-step instructions, you can successfully dismantle it without unnecessary complications. Whether you’re making room for a new interior design or performing routine maintenance, mastering the art of radiator removal empowers you to tackle household projects with confidence. Remember to exercise caution, turn off your heating system, and, if in doubt, consult with a professional for guidance.